Monday, December 20, 2010

Back again!

Hi everyone!

Sorry I haven't posted in so long - I have been super busy, but in a good way.  I found out I passed my national HR exam, so I get to use letters behind my name now (CHRP).  I also had a very successful tradeshow and nice home party in between now & then.  Not to mention Christmas and all that stuff (I am nowhere near done shopping or ready! At least the house is decorated though).

Finally got a chance to play with some new goodies I've acquired.  I'll give you a couple cards to look at since I've deprived you all so long :)


This one uses the Morning Cup stamp set & matching wheel.  It's so adorable & great for both the caffeine addict or teatotaller in your life!  I used NEW Baja Breeze seam binding ribbon, which will be available to customers upon the launch of the new mini catalogue January 4th.  I have copies already, contact me if you'd like to start preplanning your purchases! The middle of the ribbon is anchored with a matching Glimmer Brad.


This card is pretty neat if I do say so myself! The shiny looking part is actually a Window Sheet that I ran through the Big Shot in the Vintage Wallpaper embossing folder.  It's such a cool effect!  I also used the stamp set Just Believe for the tiny blue flower journalling spot.  The ribbon is the ever classy Very Vanilla satin ribbon.  It's a great ribbon to have on hand since it goes with anything and adds a little shine to any project.  The hardware I used is retired, but it matched so well I couldn't resist. Plus, I have GOT to learn to let go of some things and actually use them!  To finish it off, I added a little brown sponging to the bottom of the card.

Hope you like these and I hope it's sooner rather than later for my next post!

Merry Christmas to all of you!

Thursday, November 18, 2010

Starter Kit Promo

Hi everyone,

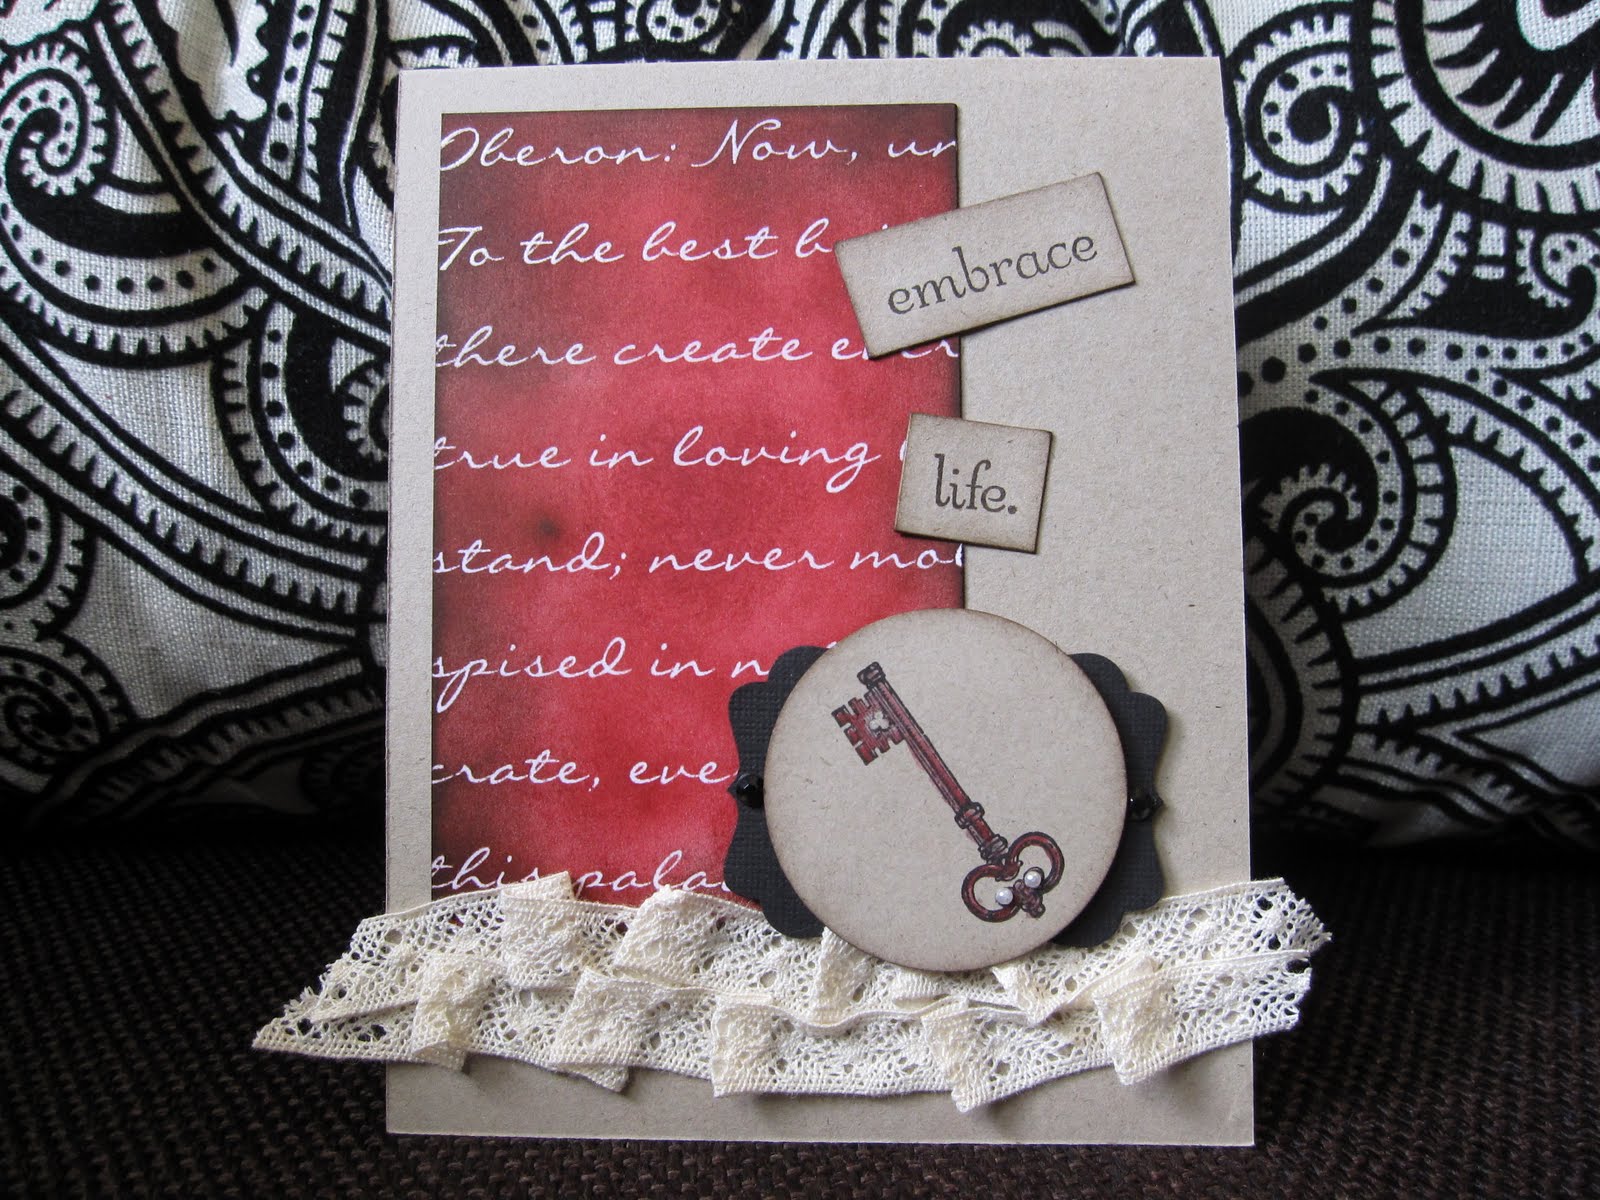
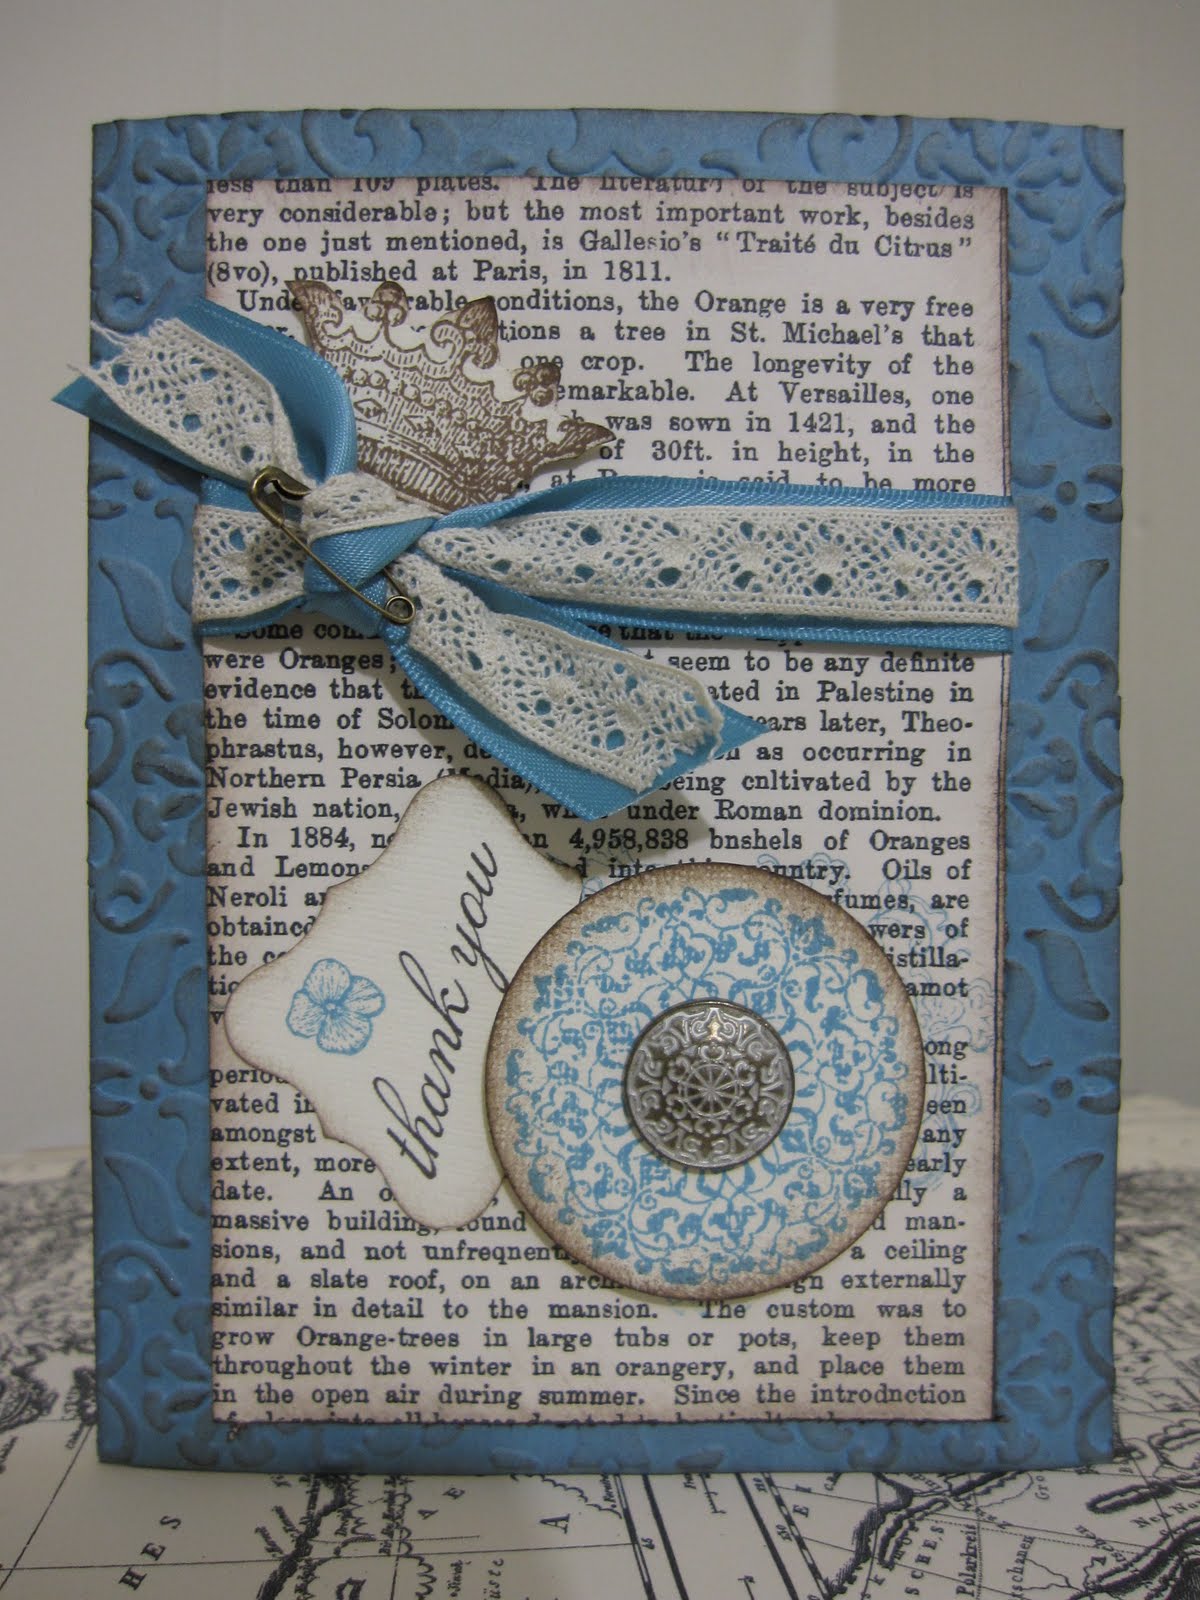
For my post today I figured I'd show a card set I made for the tradeshow coming up on December 2nd.  Only 2 sets of these will be available to purchase that day.  But I will have many, many more cards as well!

Besides cards, I also wanted to mention an incredible deal Stampin' Up has announced regarding becoming a demonstrator!  From now until November 30th you can sign up to be a demonstrator and get 50% off your starter kit! The starter kit is jam packed with all the goodies you need to start your business.  Or if you just want to get the 20% discount on your hobby, then this is a great way to build your collection quickly and cheaply! 

There is over $375 of products that would regularly cost $215, but will now only cost you $107.50!  You can either pick the Standard kit or the Digital Plus starter kit.  The Digital Plus includes a copy of My Digital Studio.

For more information (or if you don't need to hear anymore, you want to join my team RIGHT AWAY...) contact me today!


Here are only some of the benefits of being a demonstrator:

•Earn additional income while sharing creativity

•Get access to demo only preorders, contests and prizes
•Enjoy access to nearly unlimited creative ideas including an exclusive SU demonstrator only website
•Receive a free subscription to our monthly magazine

•Receive free two-month subscription to your own business website

•Opportunity to earn free products and incentive trips

You know you want to....
:)

Saturday, November 6, 2010

Time to get into Christmas!

Hi everyone!

Since it's already well into November (and I have a tradeshow coming up on Dec.2nd) I am in a big panic to get as much Christmas-y things done as possible!  I've made some more of those cute slider boxes that hold tags, but I'm also trying to get lots of cards ready to sell.

Here is one with my favorite Christmas stamp set "A Cardinal Christmas".  It's just so much fun to colour in!  Now that I finally bought Aqua Painters, it's really fun! I'm still learning how to use the Aqua Painters, so keep in mind my colouring isn't perfect! {But that's what handmade is all about, isn't it?}

The cardstock is Always Artichoke and I used the same colour of seam binding ribbon (from the Holiday mini).  I really love this seam binding, it's so easy to work with and it's such a different texture than any of our other ribbons.

The cardinal was stamped in black StazOn ink (a MUST for watercolouring) then coloured in using the almighty Aqua Painters and ink from the lids of the ink pads. 

Hope you like :)

P.S.  If some of the 'locals' are reading this, contact me for more information on the tradeshow December 2nd.  It's going to be huge & lots of fun! 

Monday, October 25, 2010

I'm Baaaaack!

I'm not going to bother with excuses as to why I haven't posted in so long.  Hey, life happens right?  In any case, I am back and with a little (emphasis on little) more time to devote to myself, I should be doing something creative regularly! 

I've been on a real big MDS (My Digital Studio) kick lately.  This software is amazing - it takes all the best things about Stampin' Up (colours, cardstock, papers, embellishments, stamps...) and it makes them IMMORTAL! Well, I just wanted it so sound cool...but really, they pretty much are immortal!  You can use them over and over and over and over and they never run out!  You can have your pages printed in a professional book, make a calendar, get professional cards printed - anything! I made my business cards on it, I make flyers with it, and of course, I scrapbook with it. 


Here is the very latest page I've done...
There is an abundance of stamps and goodies included with the original software.  To keep things fresh, new products (in the form of downloads) are avaible quite frequently.  So here is what you NEED to do:

1) Buy this program from me :)
2) Install it on your computer
3) Play around with it
4) Become absolutely, hopelessly addicted to it
5) Stay up past your bedtime playing some more
6) Realize you want new downloads, but it's 3 a.m. - not a problem!
7) Go to my website, click Shop Now and buy all the downloads you want. They're available immediately after purchase!
8) Back to the computer!
9) Enjoy

Tuesday, October 5, 2010

New Project (as promised!)

Hi everyone!

So now that I'm all done my BIG exam, I have more time to be creative - it feels great - no matter what the exam result may turn out to be!

I'm now starting to get ready for a tradeshow I have happening in my hometown on October 16th.  I've decided to make a bunch of bookmarks since they went over so well at my last workshop for my friend Danica. 

So both the bookmark and the matching card feature a set from the Holiday Mini called French Foliage.  It is gorgeous - the leaves are so lifelife and it also includes a stamp with french script on it for backgrounds.  I used the script stamp in Crumb Cake for a background, then sponged all the edges.  The leaves are stamped in Cajun Craze, Cherry Cobbler and Wild Wasabi with Soft Suede around the edges.  They're both finished off with a couple squirts each of Smooch Spritz in brown and gold.  The bookmark also has Always Artichoke seam binding and Chantilly lace at the top, anchored with a vintage brad.  The card has a sentiment from the hostess set Afterthoughts.  

I really like how they turned out!  Definitely a nice fall vibe.  

What do you think? 

Clearance Rack Race!

You NEED to go check it out immediately! There is pages upon pages of new additions to the clearance rack!  I've got a list that is a page and half long already.

If you would like to go shopping (you know you want to...) then you can find the CR by going to my site http://cboyachek.stampinup.net/ and clicking shop now in the upper right corner.  Then select Clearance Rack from the list on the left.  Or to be simple, here's the link straight to it:  http://www.stampinup.com/ECWeb/ItemList.aspx?categoryID=494

Enjoy....

{now back to my list....  Oh yeah - cards! You probably want to see a card! I will try to get on one here tonight!}

Monday, September 20, 2010

Christmas Tags in a Box

Hi everyone,

I want to show you a really fun project today!  I cased this one from Carla Brasher (http://www.thesouthernstamper.com/) - it's nice having someone so talented do the thinking for you ha ha! 

Ok and I have no idea why one of my pictures turned up vertical instead of horizontal on here.  The other one is fine and they were both taken in the same orientation. Oh well.... just crane your neck to the right!

It is a darling little slider box that holds little Christmas card or present tags!  There are SO many options for what to fill it with...

You could also just change up the design and use it for an all-purpose tag holder. 

I have a feeling I will be making lots more of these!  I think they would make great gifts or be great to keep on hand for your own personal use. 
I have lots of Christmas/holiday stamps and many of them coordinate with punches so it makes it even easier to make the tags.    This set of tags uses mainly the new Tags til Christmas set ("Dec.25", Snowman "to/from", pinecone "to/from", "for eating"), but I also snuck in one from Delightful Decorations ("to/from" ornament) and Holiday Collection ("enjoy").

Hope you like :)

Wednesday, September 15, 2010

CASE Closed!

Hi everyone!

Another CASE for you today - as I've been too stressed and busy to be original ha ha.  I'm extremely busy at my normal full-time job, keeping busy with Stampin' Up!, plus studying for the MOST IMPORTANT exam of my life in October.  My pass on this exam determines if I get my professional designation for Human Resources or not! Wish me luck...

And enjoy my take on a card by Lisa Young - she's another crafter whose work I stalk endlessly :)  Her original can be seen at http://addinkandstamp.blogspot.com/2010/08/pull-up-chair-and-relax.html 
My card looks like this...
The script paper is actually a piece of the Presto Patterns DSP.  It is white with white embossed images that only show up after you ink, spritz, sponge or otherwise imbue the paper.  In this case, I sponged heavily with Cherry Cobbler and lightly near the edges with Early Espresso.  The key image is from the set Artistic Etchings (love it!) and the vintage lace is the 1/2" Chantilly lace.  The key has tiny Basic Pearls on the end of it, and the black punch behind it has tiny black rhinestones from the Halloween section of the Holiday Mini.  I love how it all looks together!  Thank Lisa, not me :)

Monday, September 13, 2010

Boy Birthday

Hi everyone!

Today I want to show you a birthday card I made for my brother "in law" ... he turns 20 this weekend.  Boy cards are always a bit challenging...it's like my mind says "Ok, man colours, man colours this time" but my hands have a mind of their own and reach for the Perfect Plum or Melon Mambo.... "No! Bad!"

So this time I reached to Cajun Craze.  Mostly because I felt bad that I was neglecting it.  I played with all the other new colours, but poor Cajun Craze sat unused!  Not anymore!  It is a great colour for boy cards - and to perk it up a little I paired it with circle accents punched from retired yellow cardstock and Pacific Point coloured cardstock.  To jazz it up a little more I wound silver elastic cord around the card and added a Designer Brad from the retired star collection.  The stars in the background are stamped with Versamark ink.  Those stars plus the sentiment that's punched out and popped up with dimensionals is from an old set called Starring You.  I'm trying to keep to my promise of using old stuff more often - seriously - this set was unmounted prior to this card, that's how bad I am.

It's fun, funky and not too serious for a 20 year old.  Now I have to get to work on my grandma "in law" birthday card... If I get it done tonight, I'll post it, but don't hold me to that :)

Sunday, September 12, 2010

CASE - Copy and Share Everything!

Hi everyone! My favorite thing to do when I'm stumped is to surf the blogs of those who inspire me.  I always find a card I want to case! What usually happens is I start out thinking "Perfect, I'm gonna copy this entire card EXACTLY" but as I get going it transforms into something else entirely because my own flavour always comes through.  This is the beauty of casing! It's a great jumping off point. 

Today, my card was inspired by Erica Cerwin.  You can see her fantastic blog at
http://www.pinkbuckaroodesigns.blogspot.com  ... she is great!  This is her card....


And this is my card....
My card uses the new paper daisies, which I simply sponged with ink to colour them.  The centers are punched from Chocolate Chip cardstock, then covered in Crystal Effects, then sprinkled with Micro Beads.  How ashamed I am that I've had Micro Beads sitting in the embellishment drawer for TWO YEARS and not used them! They are awesome - look what I was missing! {Only down size is if you don't prepare your work surface well enough, they WILL run all over the damn place and you WON'T find them again!}  I also cut a swirl from the Decorative Strip die and accented with 2 Old Olive brads.

Here is a close up of the Micro Beads in case anyone is interested: 
Hope you like :)


Thursday, September 2, 2010

Holiday Mini Goodies

Hi everyone! I've been very very busy with the new house lately, if that helps explain the lack of posts!  I have been itching/dying/craving to play with my new goodies from the Holiday Mini...they arrived just before we moved, so I just kept them right in the box and moved them just like that.  Now they've been unpacked for over 2 weeks but I haven't had a chance to play til lately. 

Sometimes when I'm crunched for time, but have that creative urge that I know won't go away until it's satisfied, I will make one or two tiny things that I can feel proud having accomplished something and also not feel guilty about being holed up in my scrap room for hours at a time.


Here are a couple cute little things I made just to 'test out' the new stuff!

The top flower uses the new waffle paper from the mini catalogue.  It's available in brown, black, silver and gold and it is FUN! It's so easy to mold and bend - especially for circular trim, etc.  What I did here is molded it into a circle, punched a flower center, adhered that along with a button and hemp...then took small wedges out of the waffle paper with my scissors to make it look more like flower petals.  I like it! I can see it becoming a new favorite embellishment.

The bottom flower uses a new punch that came out with new catalogue - it's a giant scallop circle! As you can see it layers wonderfully with our smaller scallop circle.  Again, I have a feeling LOTS of these will be made for embellishments!


This shiny little Christmas tag was so fun and easy to make.  It features the new 2 1/2 " circle punch from the Holiday Mini, as well as the regular 1 3/4" circle punch.  Also featured is the fabulous glass glitter!  This stuff is a must have - it changes colour after time to look more vintage and distressed.  When I put it on it was bright silver, now it's a more faded champagne look - I love it! I can wait to bust it out again & make some vintage retro Christmas cards! 

The stamp set is from the very appropriately named Tags til Christmas set.  It's filled with wonderful tag images that coordinate with our punches.  There.  Now YOU have no excuse as to why you aren't making HANDMADE tags this year! 


Hope you like :)

Tuesday, August 24, 2010

New Scrap Room is Taking Shape...

Hi everyone!

I'm so excited to share a snapshot of my NEW scrapbooking/cardmaking room.  Although it's pretty scary & disorganized looking now, I hope to have it all shined up by the end of the month. 
Yes, you are seeing correctly - the wall with the window is BLACK! It was pretty liberating being able to put that first nervous stroke of black paint on the wall!  The wall with all those metal shelves is Taken with Teal - a dear retired colour that still remains in my favorites!  The metal shelving is something my sweet mom picked up for me at a store that was going out of business - they were their stock shelves, so they're heavy duty.  My sweet carpenter man made sure they're drilled into the studs, so I can load that baby up with all the paper in the world!  This is all non-SU

But this is SU stuff!  Only a small snapshot of all my collection that I've amassed (you can't even see my bookshelf of stamps in this photo).  But if you look really close, you will be able to see my kitty!  Hint: She's somewhere where any scrapbooker would know to look for a cat!

I can't wait to start having Stampin' Up parties here, as well as start classes and clubs!  If you are interested, be sure to tell me!  I'd love to set up something catered just to your needs!
Hope you like :)  {Sorry no card today!}

Friday, August 13, 2010

Daffodil Delight

Hi everyone!  I'm really getting excited for our new house - just two more sleeps :)  In the meantime, I haven't packed up my Stampin' Up! stuff...I still need to make cards!  After all, it's my aunt's birthday tomorrow plus I would also like to make thank you cards for our super realtor and our dedicated banker! 

Here is something I made today - I haven't added a sentiment yet because I haven't decided who will get this one!  {Those are my favorite kind of cards to make!  You just design the outside, make it generic & when you need a special card for something, you pull it out & add a quick stamped sentiment to the inside! Custom cards - always in stock!}

This card uses the new colour Daffodil Delight as a background, Greenhouse Gala patterned paper and Daffodil ribbon.  The stamp is a single stamp called Ornate Blossom which coordinates with the Greenhouse Gala paper.  It's a really fun bold image to use with one ink colour (as I've done here) or colour pieces of it separately with markers to make a multi-coloured blossom.

My favorite little detail of this card is courtesy of the *NEW* Basic Pearls!  They come in a large sheet, with many pearls in 3 different sizes, as well as 3 strips of attached pearls.

I am also getting excited for my first Stampin' Up! party in my new house - for which my good friend Danica will be the hostess!  She's cashing in on a sweet August promotion from Stampin' Up - host a qualifying party this month and get extra $35 in free products! That's EXTRA, as in, over and above all the other free stuff hostesses always get!  

Contact me if you want to cash in on this promo too! 

Friday, August 6, 2010

Greenhouse Gala Album

Hi everyone!

I thought I would show you what I have been working on for a while. 
This is one of the old 8.5" square chipboard albums.  I've had it on hand for so long, unused, that now they're retired!  Have no fear, though.  There are still lots of mini chipboard books available for you to decorate yourself.  OR...you can be super fancy and make your own using the Big Shot machine!

It is covered in the NEW Greenhouse Gala designer series paper.  (See? At least I am using something new, instead of hoarding it!)  This paper it truly gorgeous and in addition to the lovely pear colours here, it also has blues, yellows, browns, and oranges. 

After adhering the paper, I brushed a Modpodge sealer over it so handling it won't wear the paper down.  It is decorated with rub-ons and a metal tag.

I made a similar album for a girlfriend for her birthday, featuring her new baby - she loved it!  I'm just kicking myself that I didn't take pictures of that one before giving it away. 

So maybe in future posts I will showcase some of the pages for this album.  I'm not planning a theme for it, I just want it to be a collection of some of my favorite pictures and moments (hence the title on the spine!). 

Hope you like:)

Wednesday, August 4, 2010

I Got The Vintage Blues!

Don't worry - the Vintage Blues are actually a good thing!  I've been playing around a lot with the new colour Marina Mist.  I love how it goes with every neutral colour out there - especially Crumb Cake.  I used that colour pair in the card to the left - I think it turned out well, it somehow reminds me of antique china patterns.  
I used a flower stamp from the set Embrace Life to make the pattern on the Crumb Cake panel.  It was then shaded in slightly with Marina Mist ink and a blender pen.  {NOTE: Blender pens are the most awesome invention in the history of Stampin' Up!  You NEED them.}  The sentiment is from an old hostess set called A Little Somethin'.  I added some Very Vanilla corners, brads, satin ribbon and a Hodgepodge Hardware ribbon slide.


  Now this next card {aren't you lucky? Getting 2 today!} uses Marina Mist background as well, but it has been dry embossed using the Big Shot machine {another Must Have} and the Vintage Wallpaper embossing folder.  The text paper is from the Newsprint line.  I embellisheed with some Marina Mist satin ribbon, the new Chantilly Lace ribbon, and a tiny safety pin from the new Vintage Trinkets.  The crown and medallion images are both stamps from the Artistic Etchings set.  The "thank you" and small flower are from the new hostess set "Because I Care".  Finally, a gorgeous, distressed brad from the Vintage Brads.  I also sponged a little brown ink over the raised embossing, just to give a little weathered feel. 

I hope you're feeling the vintage blues too! 

Monday, August 2, 2010

The new owl punch is the best!

Hi everyone!  (If there is even anyone reading, who knows, right?)

I figured I would post a card I made for a special occasion this past Sunday.  It was my neighbours' 50th wedding anniversary!  That is a long time, so it deserved something special, yet cute. 
The owls are made using the 2-step owl punch in the new catalogue.  It's really versatile - you can punch a whole bunch of different colours and patterns, then keep them on hand to mix and match whenever you happen to need an owl {believe me, it happens more often than you'd think}.  

This pair I dressed up using our new vintage Chantilly lace for the bride's skirt and shiny black striped paper for the groom's shirt.  

The Cherry Cobbler background is embossed with the Vintage Wallpaper folder.  The music note paper is also new (from the Newsprint collection).  Both the paper and the chipboard '50' are sprayed with Smooch spritz, which gives a really nice splatter/distressed/misted look!  Hope you like :)

Sunday, August 1, 2010

Greetings!

Hi everyone!

I am not really the techno-geek many think I am, and I was having issues with my Stampin' Up demonstrator blog - so this will be my new one :)

In others news....I am moving!  Within the same town, just a different house.  A bigger one! A better one! One with my VERY OWN scrapbook/stamping/craft room.  So you are more than welcome to host your Stampin' Up party at my house.  Really, that benefits all of us, doesn't it?  You don't have to clean or worry about set up, I don't have to drag 200 pounds of supplies to your house ha ha ha {although I'm still very willing to do that, if that's what you want!}

So with the move, I can't guarantee I'll be doing a lot of new creating and posting on here.  Actually, moving would be a great excuse...but even after that, I'm sure I'll still be pretty sporadic with the whole blog thing! 

So just in case the next one doesn't come soon, here is a little card peek to tide you over!
This card features the stamp sets Cute by the Inch & Because I Care.  The card base is Concord Crush which is a new In Colour.  Also features Hodgepodge Hardware mounted with brads near the bottom right.  Hope you like :)